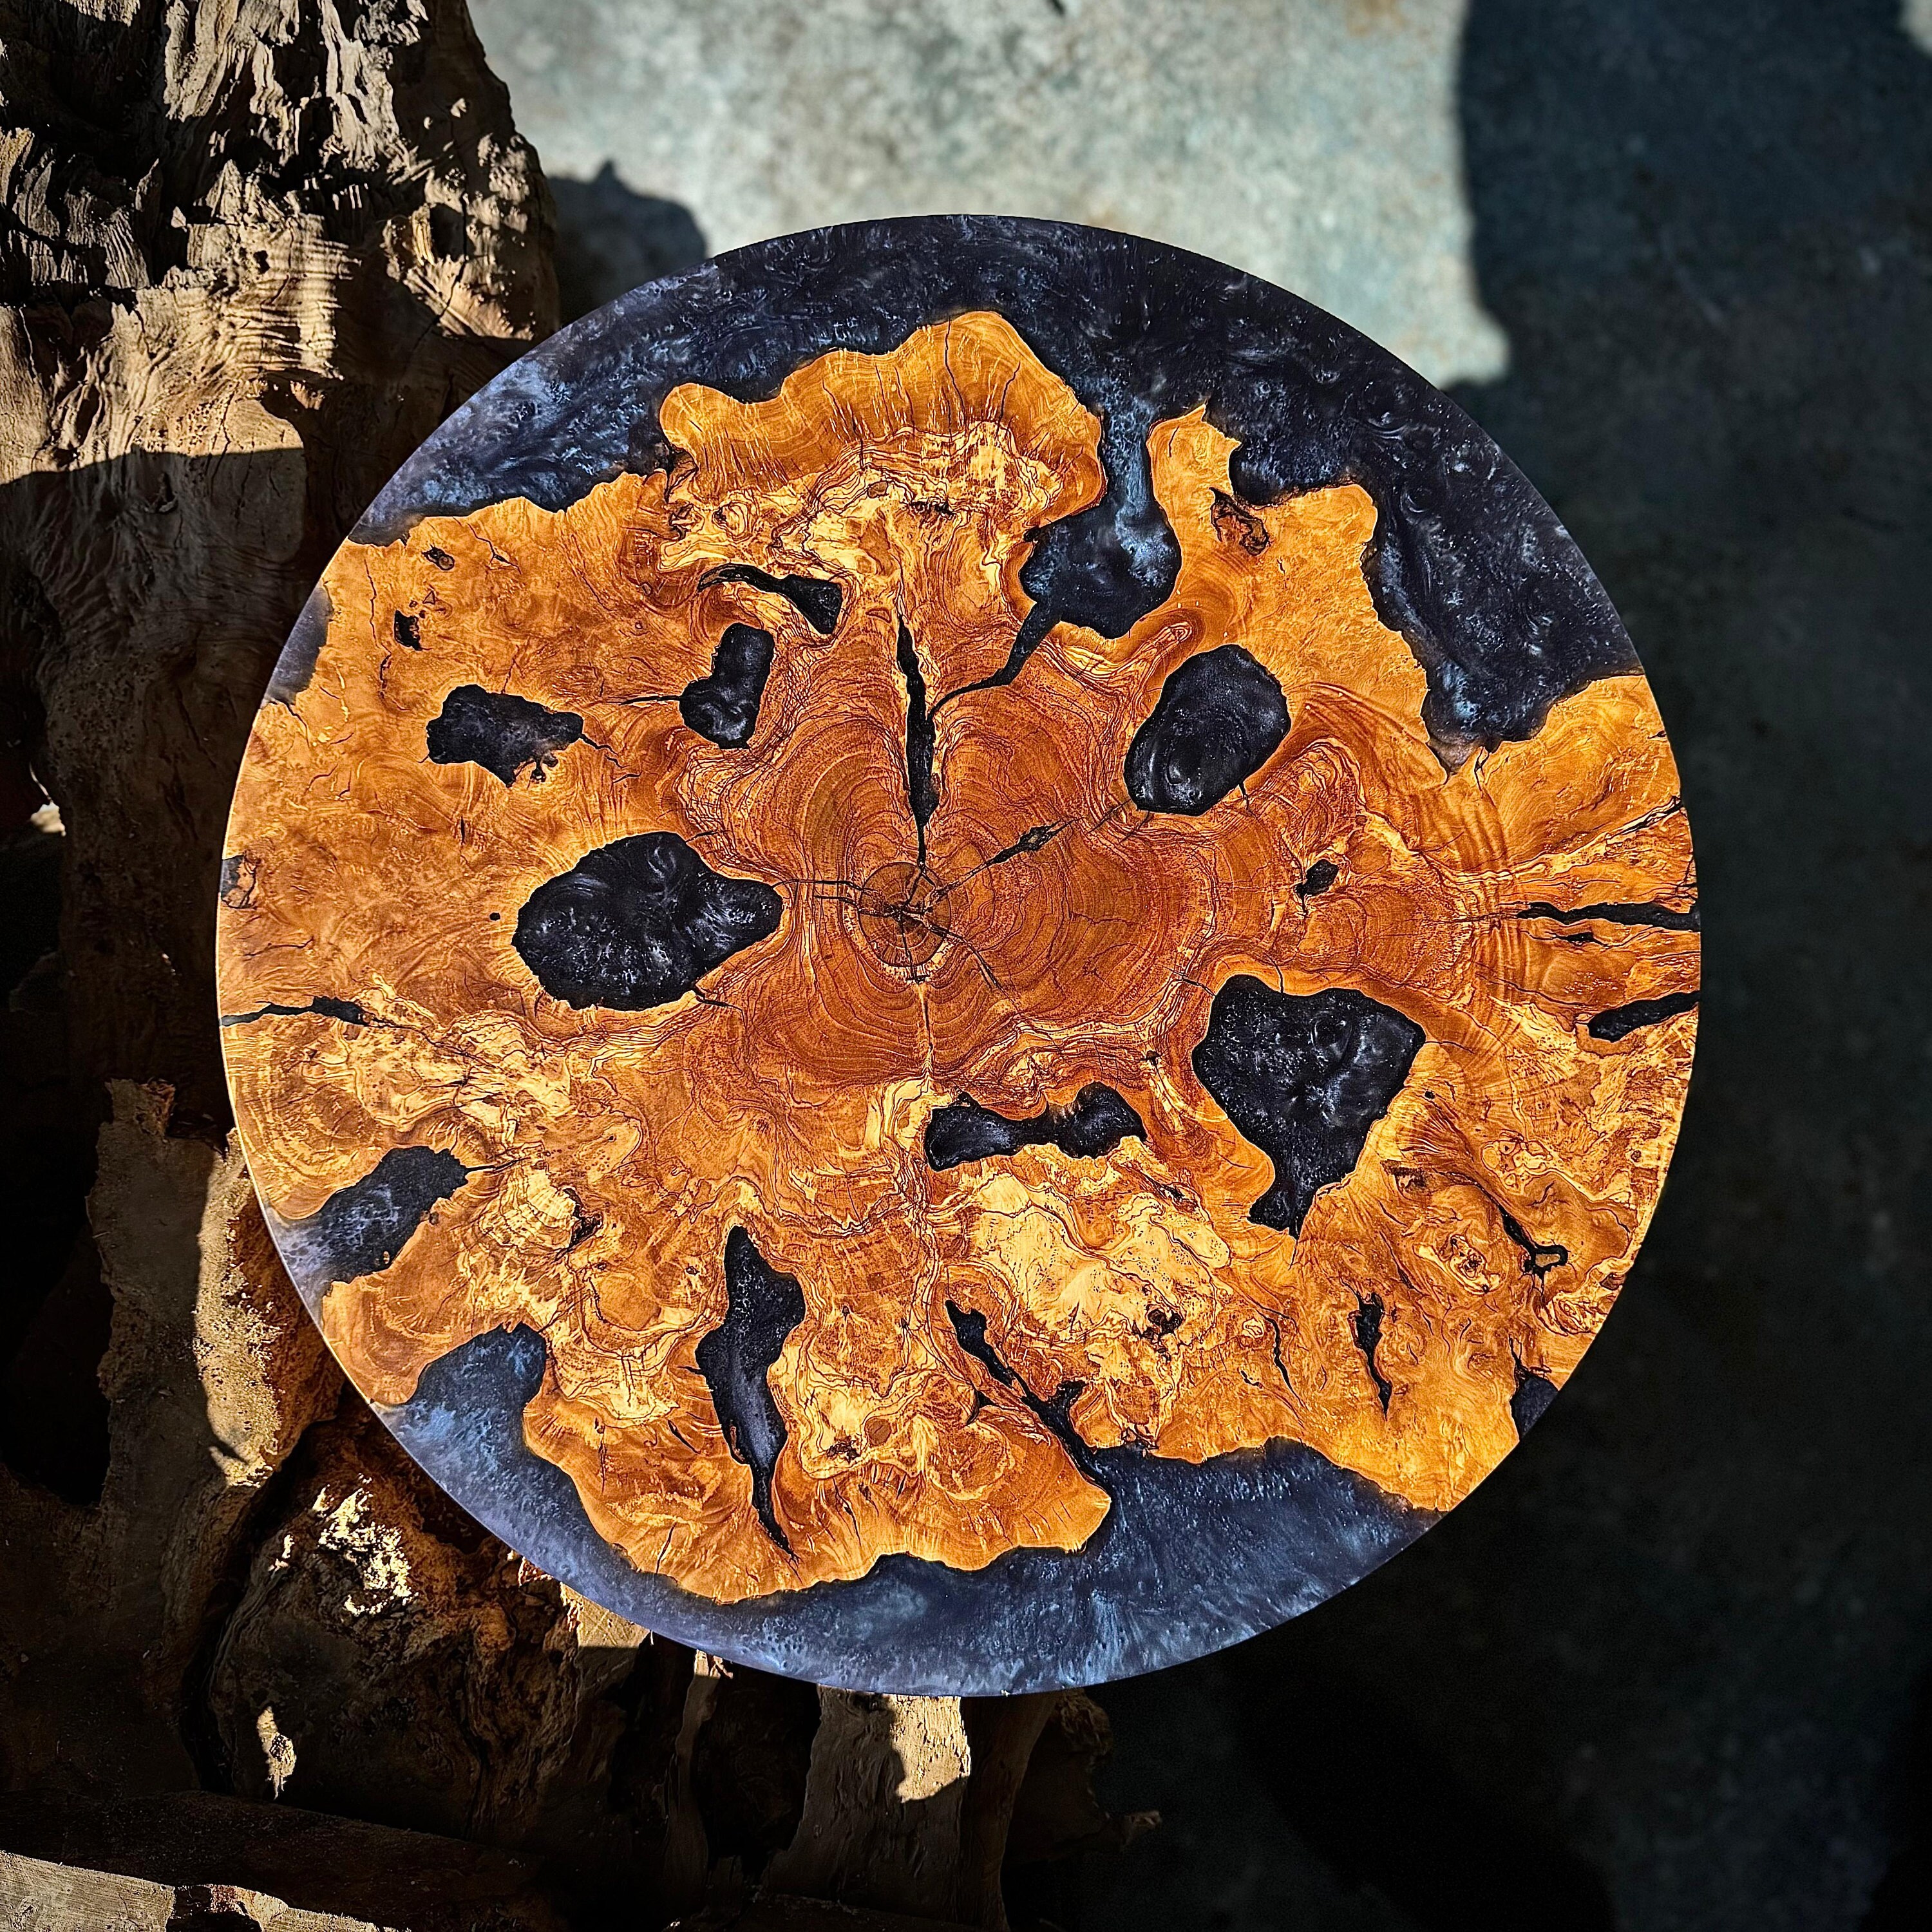
Epoxy Projects Inspired by Olive Wood: A Step-by-Step Guide
The olive tree, with its natural texture and durability, holds a unique place in the world of design and decoration. When paired with epoxy resin, it creates some of the most stunning and modern designs. Whether you're crafting a table, accessory, or art piece, the combination of olive wood and epoxy offers both aesthetics and functionality. So, how can you bring these projects to life? Here's our step-by-step guide:
1. Choosing the Right Olive Wood
The success of your epoxy project starts with the right materials. Olive wood, known for its natural grains and unique color tones, is ideal for epoxy projects.
- Condition of the Wood: Choose kiln-dried wood with a low moisture content (ideally 8-12%) to ensure proper adhesion of the resin.
- Size and Thickness: Select pieces of appropriate size and thickness based on your project, such as thick panels for large tables.
2. Defining the Design and Preparing the Wood
Have a clear vision of your design. Epoxy resin blends beautifully with wood, creating fluid patterns and abstract designs.
- Shaping the Wood: If the wood has irregular edges, cracks, or voids, you can either incorporate them into the design or smooth them out.
- Cleaning: Ensure the wood is thoroughly cleaned. Dust and debris can affect the adhesion and clarity of the resin.
3. Preparing the Mold
Before pouring the resin, you’ll need to create a mold to hold the wood and resin.
- Material Choice: Use waterproof and durable materials for the mold. Sealing the edges with silicone prevents resin leakage.
- Protecting the Mold: Apply a release agent or tape to the mold's surface to prevent the epoxy from sticking.
4. Mixing Epoxy Resin and Choosing Colors
Epoxy resin is the centerpiece of your project.
- Proper Mixing: Follow the manufacturer’s instructions to mix the resin and hardener in the correct ratios. Incorrect ratios can cause curing issues.
- Colors and Effects: You can opt for a clear finish or customize the design with metallic pigments, dyes, or glitter.
5. Pouring the Epoxy
Carefully pour the epoxy mixture over the wood.
- Layered Pouring: For deep projects, pour the resin in layers, allowing each layer to cure fully.
- Removing Bubbles: Use a heat gun or hairdryer to eliminate air bubbles during the curing process.
6. Sanding and Polishing
Once the epoxy has fully cured, the surface must be smoothed and polished.
- Sanding: Start with coarse-grit sandpaper (120 grit) and gradually move to finer grits (up to 400 grit) for a smooth surface.
- Polishing: Use polishing compounds to achieve a glossy, eye-catching finish.
7. Final Touches and Protection
Complete your project with the finishing touches:
- Protecting the Wood: Seal or oil the wood surface to enhance its durability.
- Mounting Accessories: For tables or similar projects, attach metal or wooden legs.
8. Enjoy Your Creation
Your olive wood and epoxy resin masterpiece is now ready! This unique piece will serve as a stunning decorative element in your home or workplace.Conclusion Projects made with olive wood and epoxy resin combine the natural beauty of wood with the artistic versatility of resin. Whether you craft your own creation or collaborate with professionals, these designs represent elegance and durability. Are you ready to discover the timeless story of olive wood and the artistic power of epoxy?
