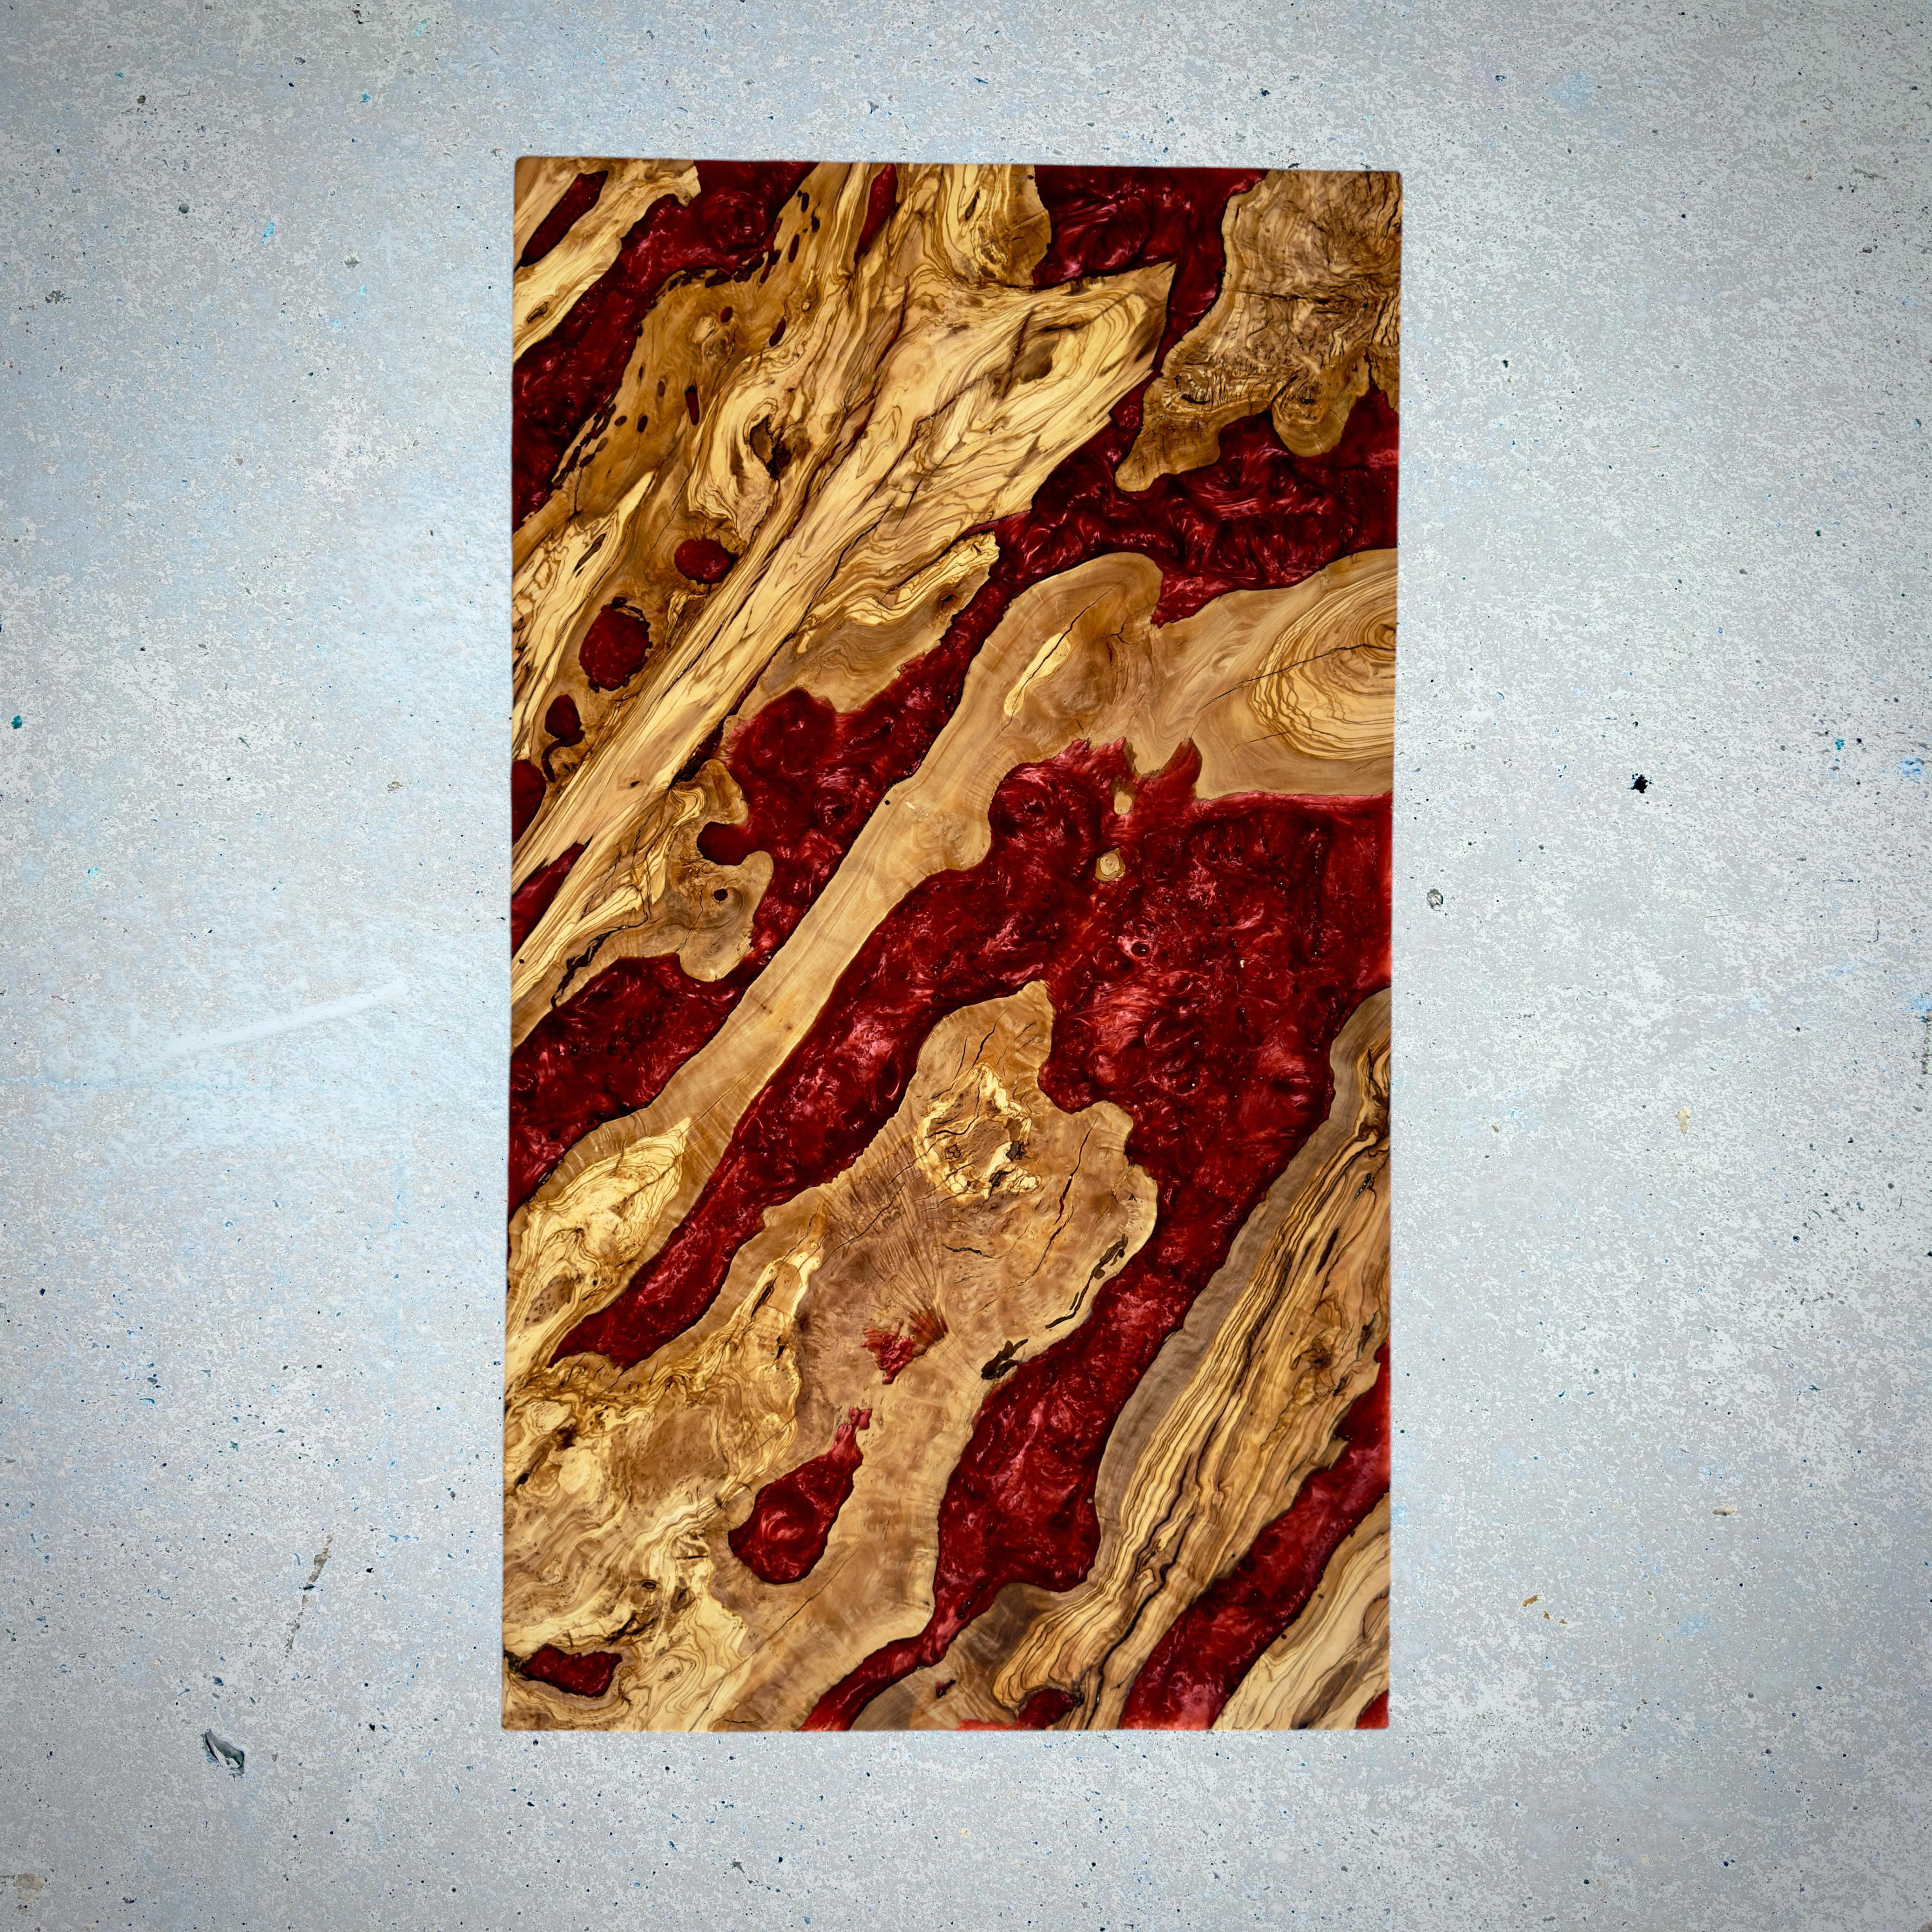
Epoxy and Olive Wood: The Production Process of Aesthetic and Functional Designs
Olive wood is a preferred material in furniture and decorative items due to its unique texture and durability. Its natural color transitions and grain patterns, which bear the marks of time, make each piece one of a kind. In recent years, the combination of epoxy resin with olive wood has opened up new possibilities for creating products that are both visually stunning and functional. In this article, we’ll explore how to produce high-quality and eye-catching designs through the harmonious union of epoxy and olive wood.
1. Material Selection: The Uniqueness of Olive Wood
Olive wood, with its dense and tight grain structure, is a highly durable material. Choosing the right piece of wood is crucial when working with it. The natural curves and grained surfaces of olive wood create a visual feast when paired with epoxy. Therefore, selecting the most suitable olive wood slab for your project is the first step. Using high-quality, well-dried olive wood minimizes the risk of warping or cracking.
2. The Role of Epoxy Resin
Epoxy, with its transparent and glossy appearance, highlights the natural texture of olive wood while also adding durability to the product. Epoxy can be used to fill gaps in the wood, provide a smooth coating on the surface, or enhance the contrast between the wood and the resin. This transparency, which is aesthetically important in design, also improves the durability and water resistance of the product.
3. Design Process: The Fusion of Nature and Modernity
In designs combining epoxy and olive wood, both natural and modern aesthetics can be achieved. By showcasing the natural texture of olive wood and adding transparent or colored epoxy sections around it, a contrast is created, resulting in an eye-catching visual. For example, filling the natural voids in olive wood with epoxy stabilizes the wood and adds a unique aesthetic layer.One of the first steps in the design process is determining where to apply epoxy based on the shape of the olive wood. To create a strong bond between the wood and epoxy, the surface must be cleaned and prepared thoroughly. At this stage, you can get creative and incorporate different colors or patterns into the epoxy.
4. Epoxy Pouring and Curing Process
The epoxy pouring process is a critical step that must be done meticulously. Every gap in the olive wood should be carefully filled with epoxy. During this process, the resin should be mixed and poured carefully to prevent air bubbles from forming. Additionally, the epoxy needs a specific amount of time to fully cure. This curing period can vary depending on the type of resin used and environmental conditions. During the curing process, it’s important to protect the product from dust and external factors.
5. Sanding and Polishing: The Final Touch
To achieve a smooth and glossy surface where epoxy and olive wood come together, the sanding process is crucial. Using fine sandpaper, the surface of both the epoxy and the wood is smoothed out. After sanding, the polishing stage begins. A wood polish brings out the natural color of the olive wood while enhancing the gloss of the epoxy. This stage is essential for giving the product its final form and ensuring its longevity.
6. Conclusion: Aesthetic and Functional Products
Products created from the combination of epoxy and olive wood are not only visually appealing but also highly functional. These durable designs, resistant to water and impacts, find wide application in home and office decor, as well as in furniture and art pieces. Each piece uniquely presents the natural beauty of olive wood and the modern elegance of epoxy.In conclusion, when epoxy and olive wood are skillfully combined, it’s possible to produce designs that are both striking and long-lasting. The harmony between these natural and synthetic materials offers endless possibilities for creative artisans. Through such projects, you can create products that are both functional and artistically valuable.4o
