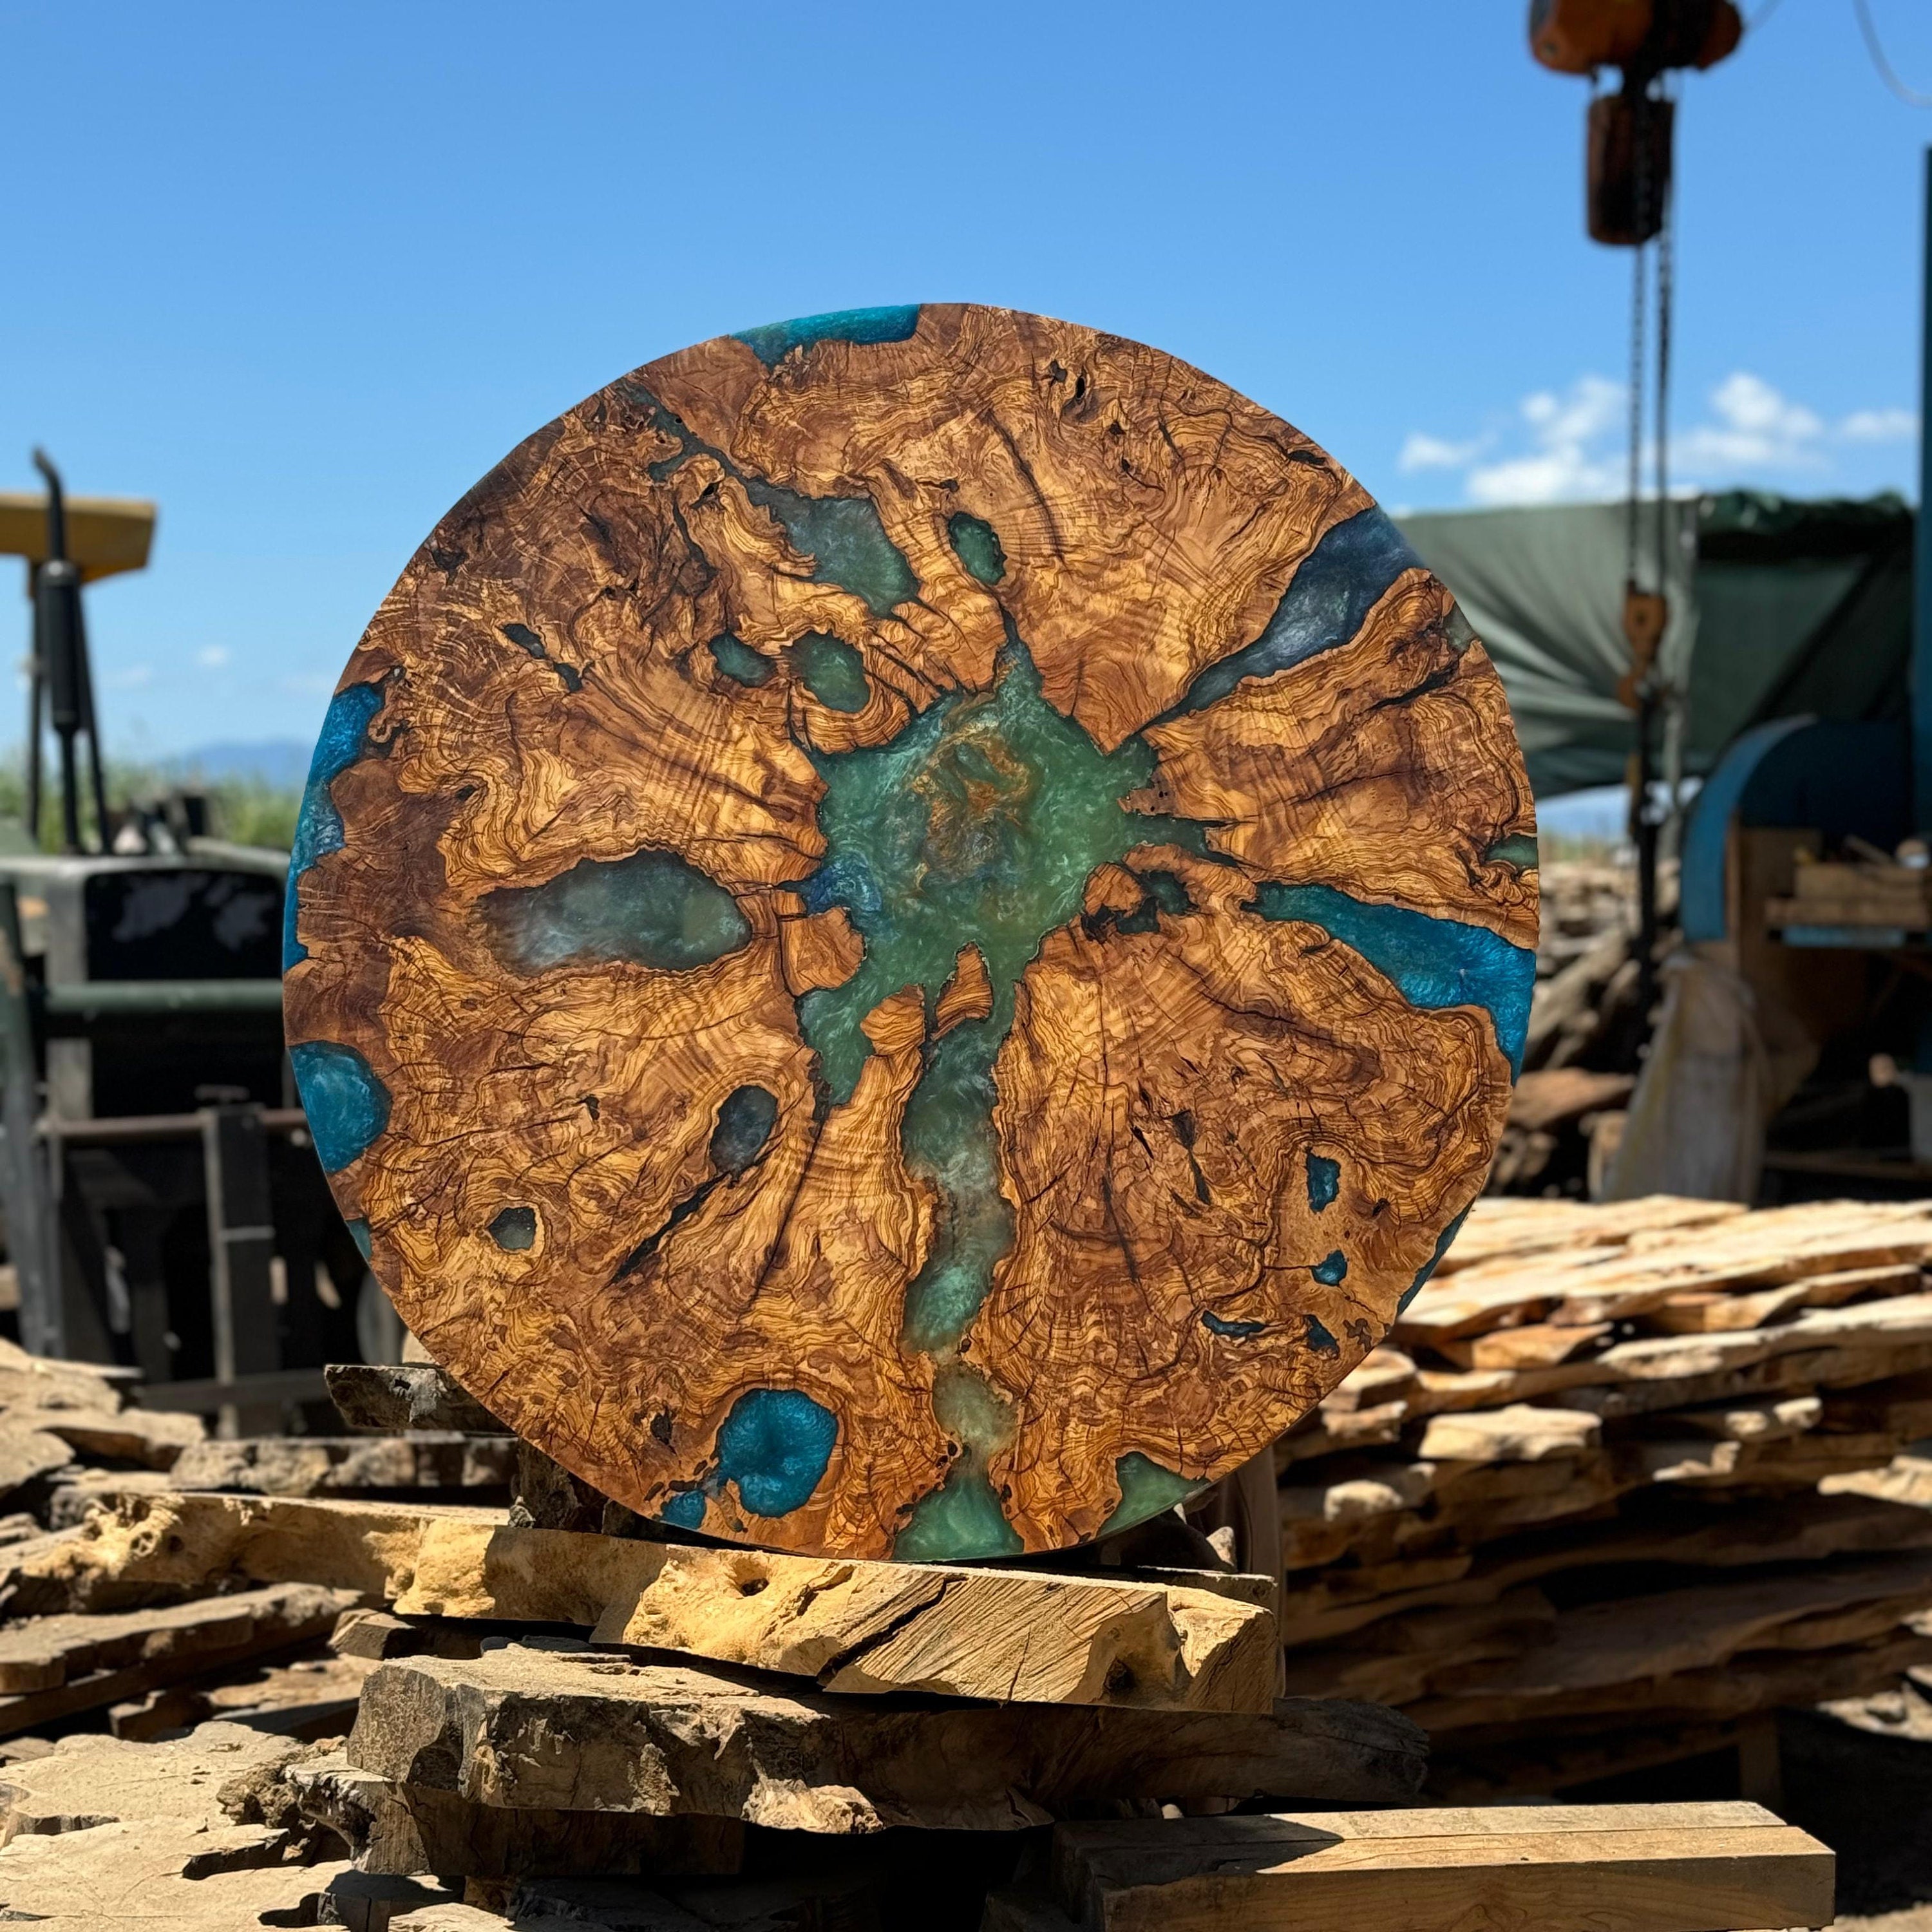
Step-by-Step Guide to Making an Epoxy Table
Epoxy tables have become quite popular in interior decoration in recent years. These tables are preferred in both homes and offices due to their aesthetic appearance and durability, and they can be customized with different materials and colors. If you want to make your own epoxy table, this guide will walk you through the process step by step.
1. Gather the Necessary Materials
To make an epoxy table, you will need the following materials:
- Epoxy resin and hardener
- Wooden board (solid wood or MDF can be used)
- Sandpaper (various grits)
- Mold (silicone or wood)
- Gloves, protective goggles, and mask
- Mixing container and stick
- Paint or pigment (optional)
- Measuring cup
- Varnish and brush
2. Prepare the Wooden Board
After selecting your wooden board, you need to prepare its surface:
- First, cut the wooden board to the desired size.
- Sand the surface of the wooden board with different grits of sandpaper to make it smooth. Start with a coarser grit sandpaper to remove rough spots, then move to finer grits for a smooth finish.
- Once the surface is smooth, wipe off any dust with a cloth.
3. Prepare the Mold
Preparing the mold where the epoxy resin will be poured is very important:
- If you're using a wooden mold, coat the inside surface of the mold with wax or petroleum jelly to prevent the resin from sticking.
- Ensure all edges of the mold are smooth and sealed. If the mold is not sealed properly, the resin may leak out during pouring.
4. Mix and Pour the Epoxy Resin
This step requires the most caution:
- Start by putting on protective gear like gloves, a mask, and goggles.
- Mix the epoxy resin and hardener in a measuring cup according to the manufacturer's recommended ratio. Mix well to ensure the mixture is homogeneous; otherwise, the resin may not harden properly.
- If you want to add color, you can add paint or pigment while mixing.
- Slowly and carefully pour the mixture into the mold. To prevent air bubbles, pour slowly. You can use a heat gun or lighter to pop any bubbles that form.
5. Wait for the Epoxy to Harden
It usually takes 24 to 48 hours for the epoxy resin to fully cure. During this time, avoid touching or moving the table. The curing time may vary depending on factors such as room temperature and humidity. Follow the waiting time recommended by the manufacturer.
6. Sand and Polish the Table
Once the epoxy is fully cured, sand the surface to make it smooth:
- Start by lightly sanding the surface with a coarser grit sandpaper and then gradually move to finer grits for a smooth finish.
- After sanding, thoroughly clean the surface to remove all dust.
- Finally, apply varnish to the table surface to create a shiny and protective layer.
7. Your Table is Ready to Use
After the varnish dries, your epoxy table is ready for use. You can use this unique table that you designed according to your own taste in your home or office to make a statement!
Conclusion
Making your own epoxy table is both a creative and satisfying process. By following this step-by-step guide, you can create a unique and stylish table for yourself. Remember, it’s important to be careful and take protective measures when working with epoxy. Happy crafting!